Help Page
This page explains the steps and controls of the resource splitting tool.
For a general introduction to fair division, see the Interactive Course.
Describe the Resource to Split
This is the initial set up screen. If you want to try things out quickly, click "USE SAMPLE VALUES", otherwise follow the prompts.
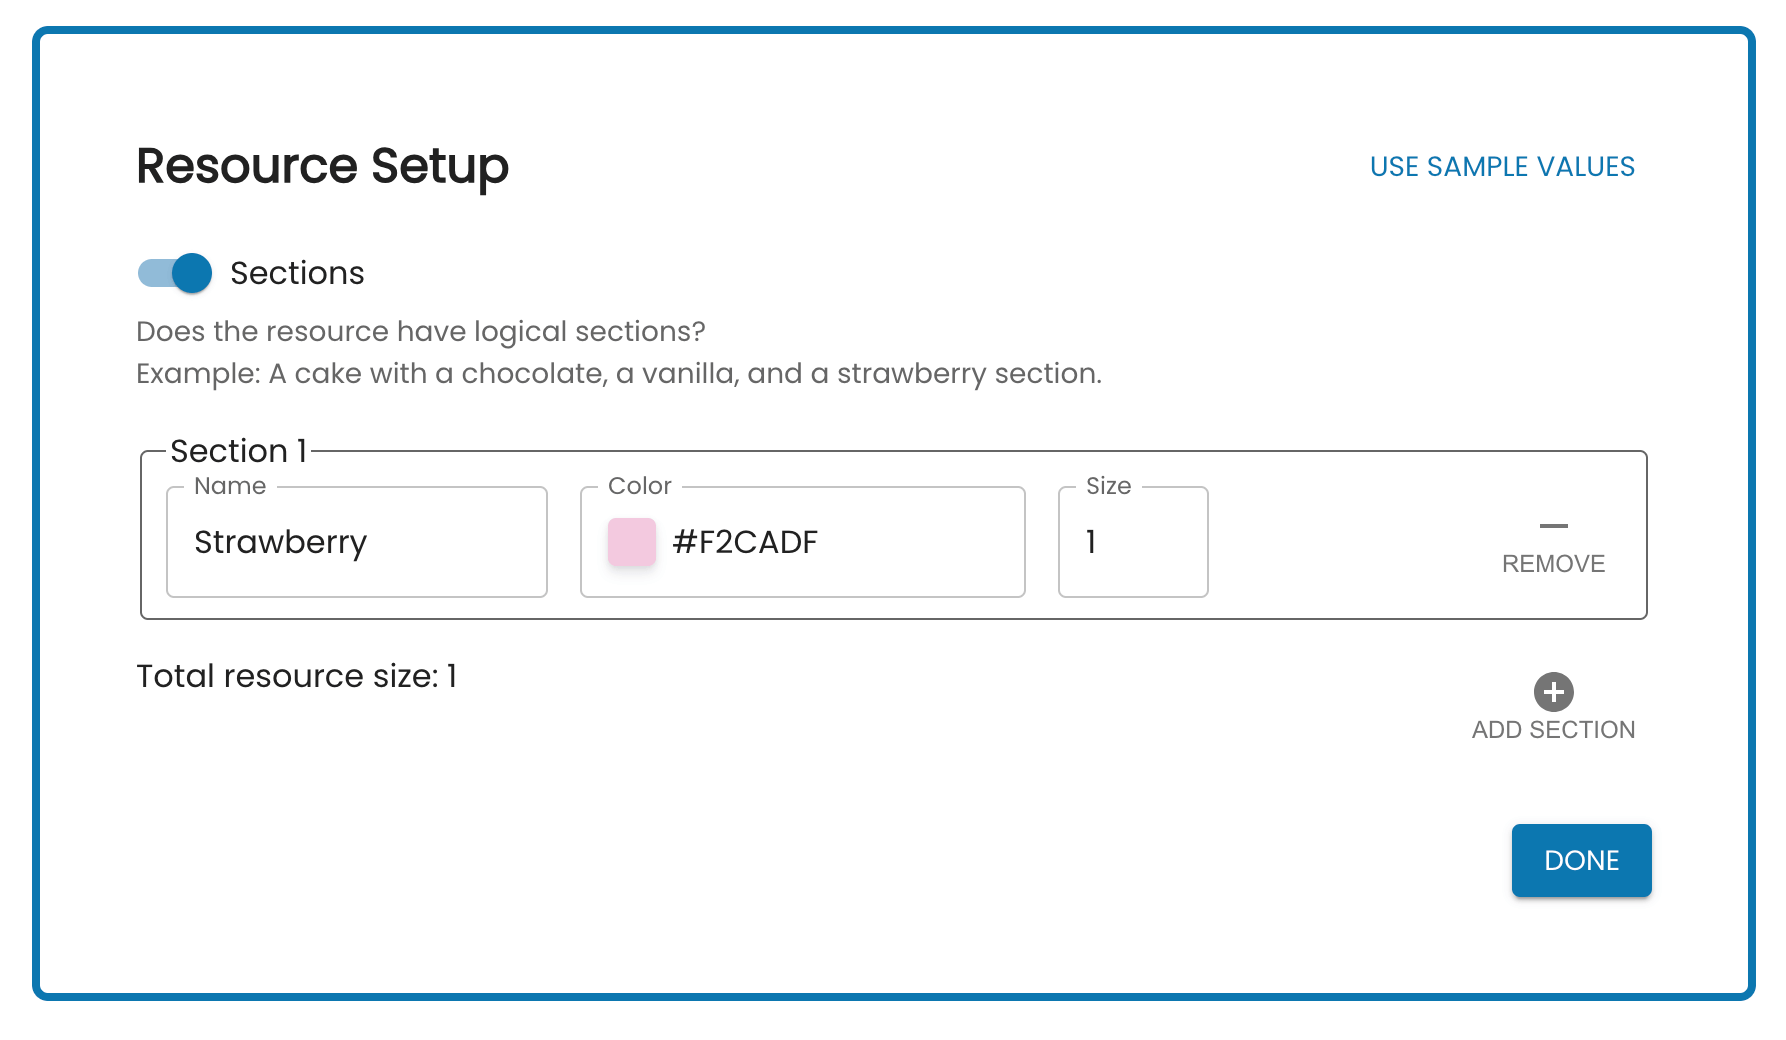
If your resource has sections, define them here.
Sections are labels for parts of the resource. If you are splitting a multi-flavor cake, these could be a strawberry, a vanilla, and a chocolate section.
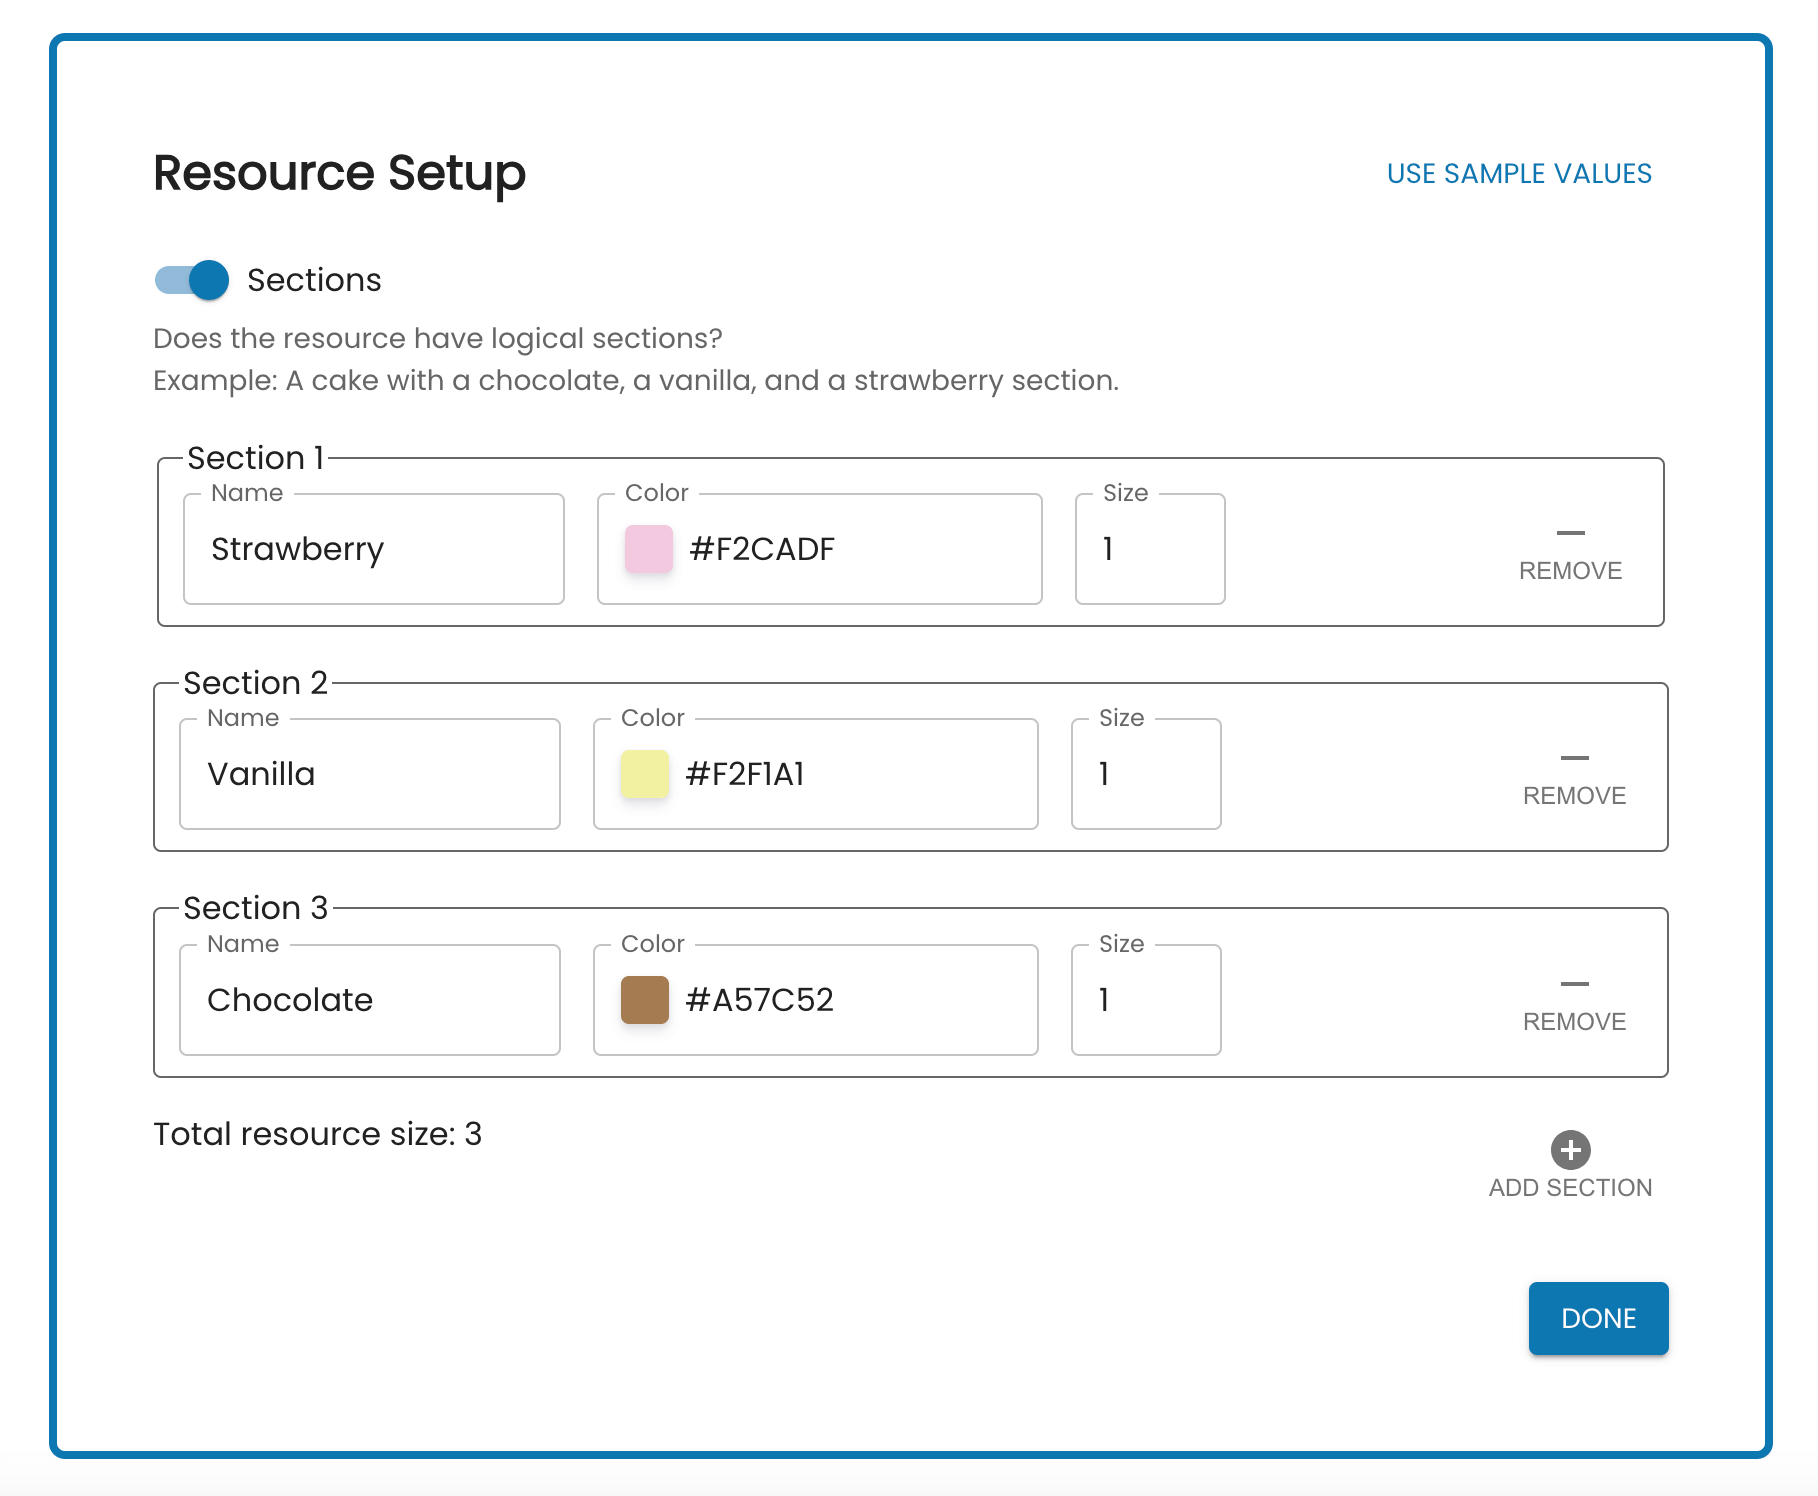
You can give sections different colors and sizes. This is up to you, whatever works best for the resource you want to split.
If your resource doesn't have sections, we'll still need to know its size. Generally you can leave size at 100, but you can increase this number for more control, or decrease it for simpler interactions.
Mark Preferences
Next, mark how much you value different parts of resource.
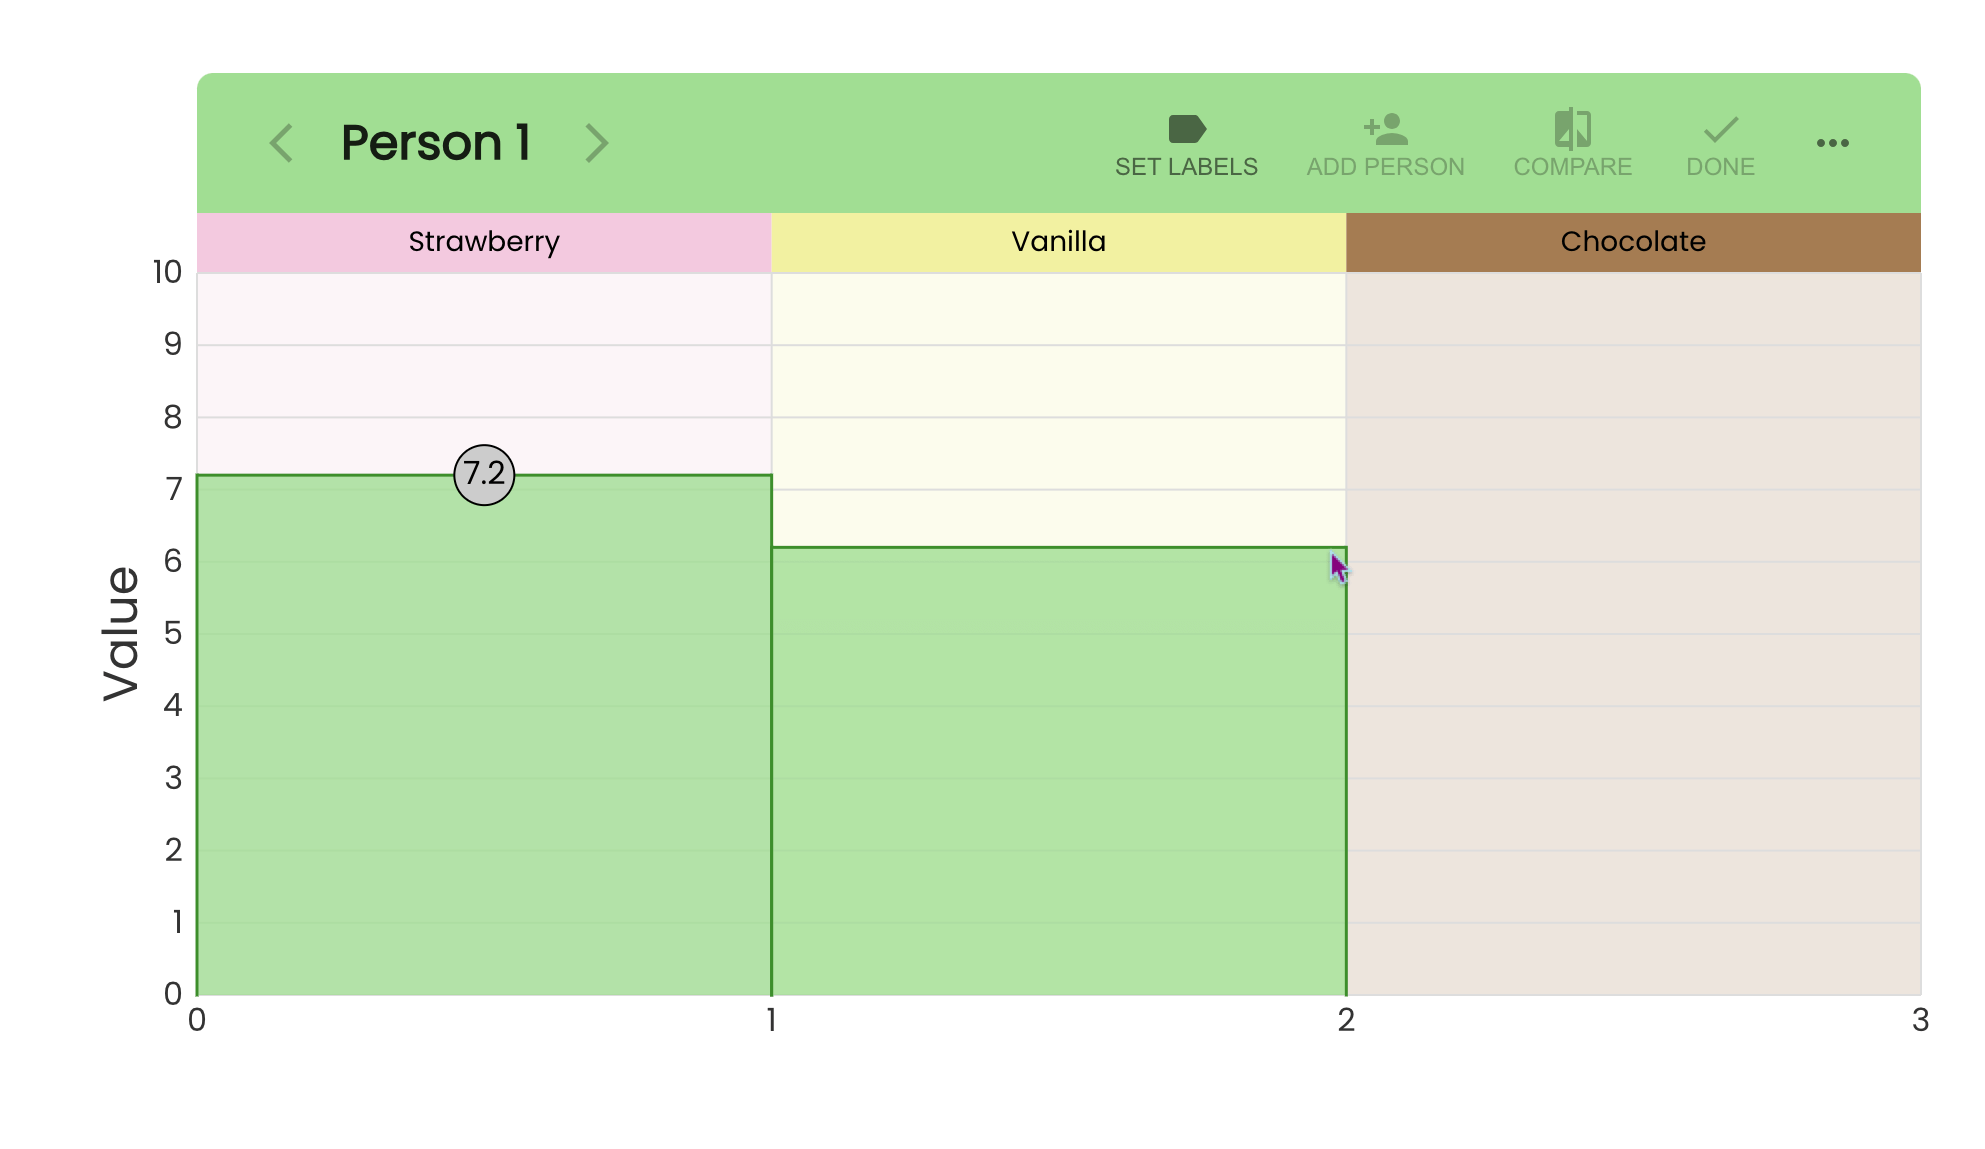
You can mark value by clicking on the graph at the value level you want. Values are on a scale from 0 to 10. They don't mean anything specific; it's your opinion so choose a number that makes sense to you.
Continue to fill out the graph until you've given a value to all areas in the resource. When you are done, click "ADD PERSON" to mark values for the next person.
Adjusting Values
You can click and drag the circles up and down to change the value of an area.
Hover over a border between two areas and it becomes thicker. You can click and drag the border left and right to resize an area.
Hover over a corner of an area for a circle to appear. You can click and drag this circle to adjust the corner of the area up and down. This creates a value that increases or decreases over an area.
To change an angled area back to a flat area, drag one of the corners until it's even with the other.
Areas can also be resized using the keyboard. After focusing on a value circle, press ↑/↓ to adjust a value in increments of 0.1 or hold Shift+↑/↓ to adjust a value in increments of 1. When focusing on a border, press ←/→ to adjust a value in increments of 1 or Shift+←/→ in adjust in increments of 10.
Top Controls
The top bar of the graph area contains controls.
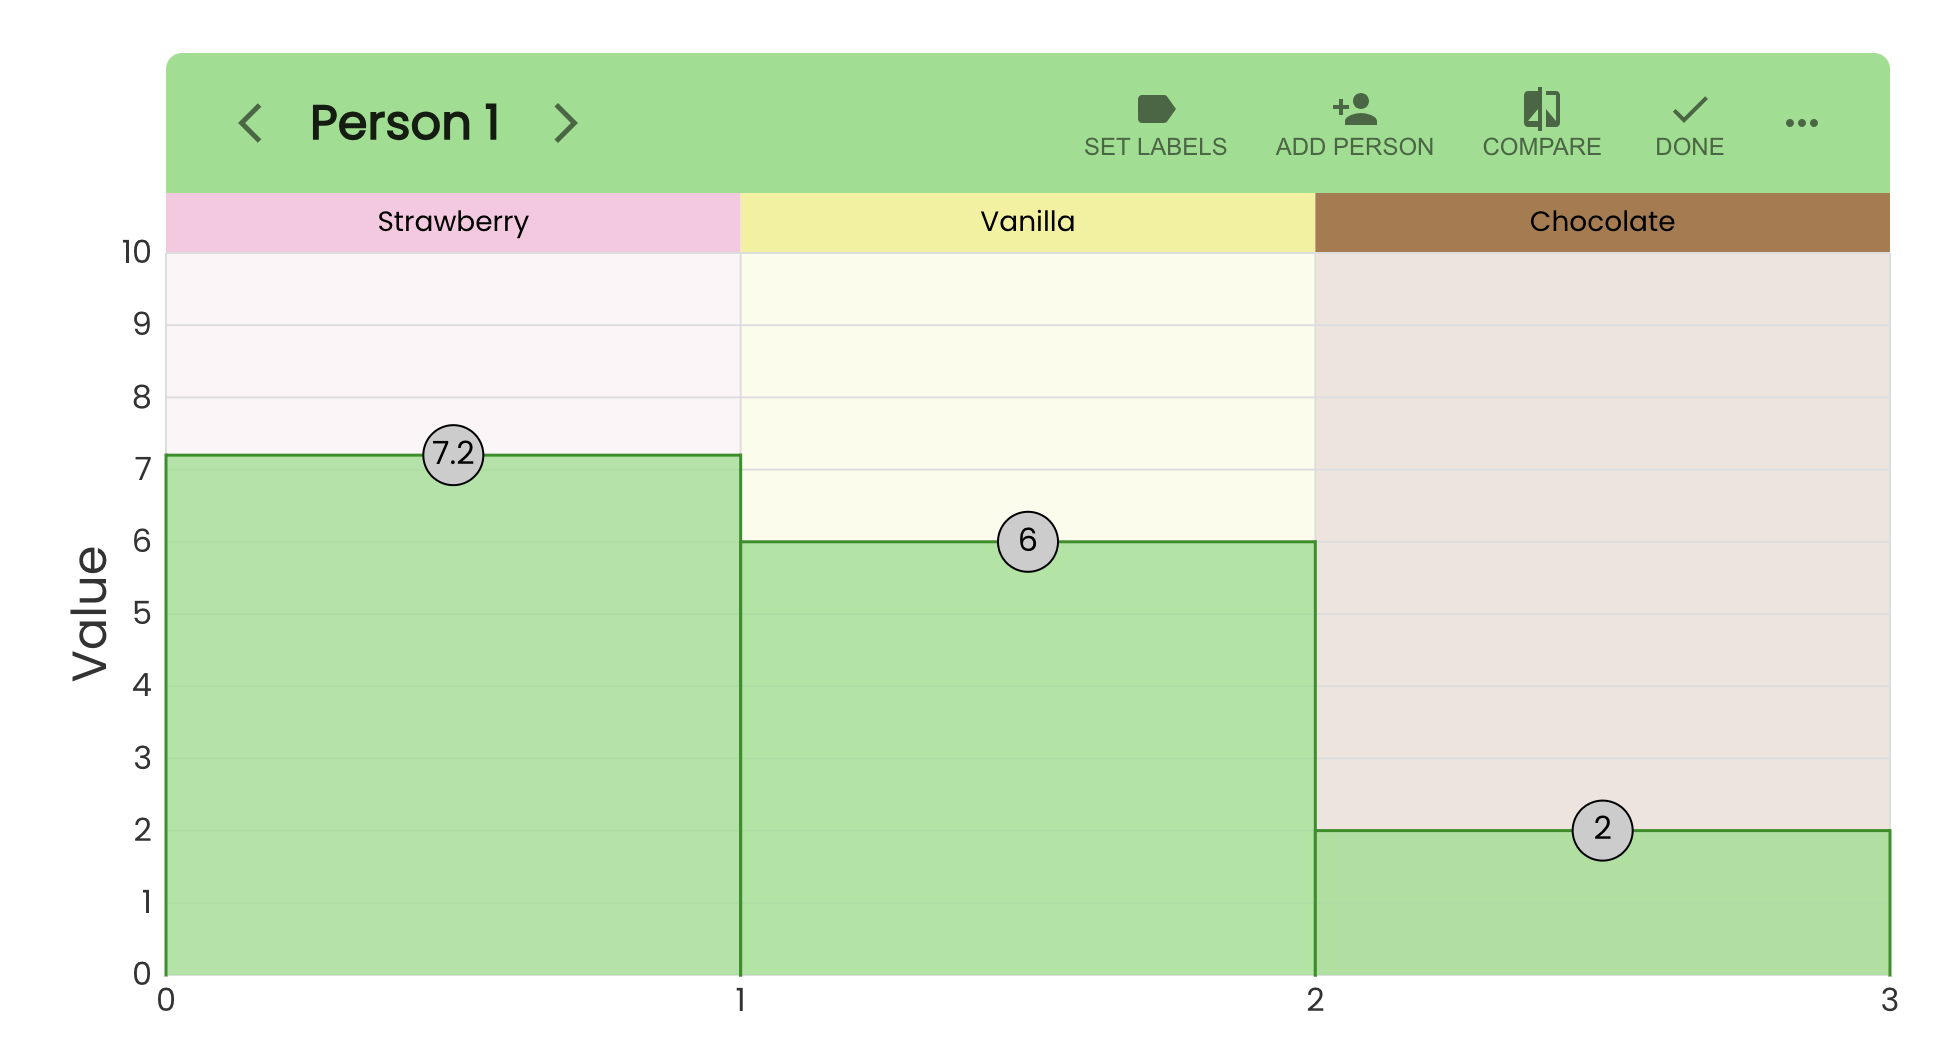
These are:
- Arrows - Navigate to next or previous person (when there's more than one).
- SET SECTIONS - Return to the section label set up.
- ADD PERSON - Add an additional person. The limit is 3.
- COMPARE - Enter a view where you can compare the value display of all people.
- DONE - Once values are input for all people, click this to split the resource.
- OTHER OPTIONS - This menu includes options to import data, export data, or export as image.
Choose Method
After clicking "DONE", you will be prompted with a dialog to choose a method/algorithm to use when splitting the resource. Click "FIND SOLUTION" and the algorithm will split the resource automatically.
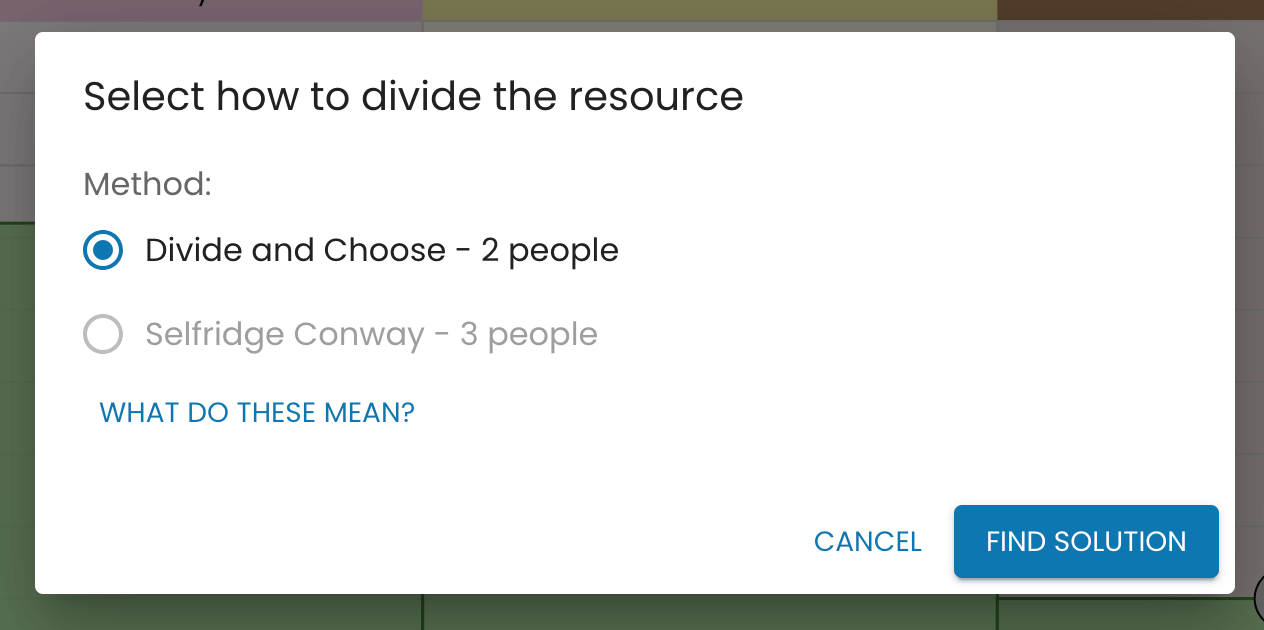
Some options are limited on the number of people they support, so won't be selectable.
Results
After the algorithm runs, it displays the results.
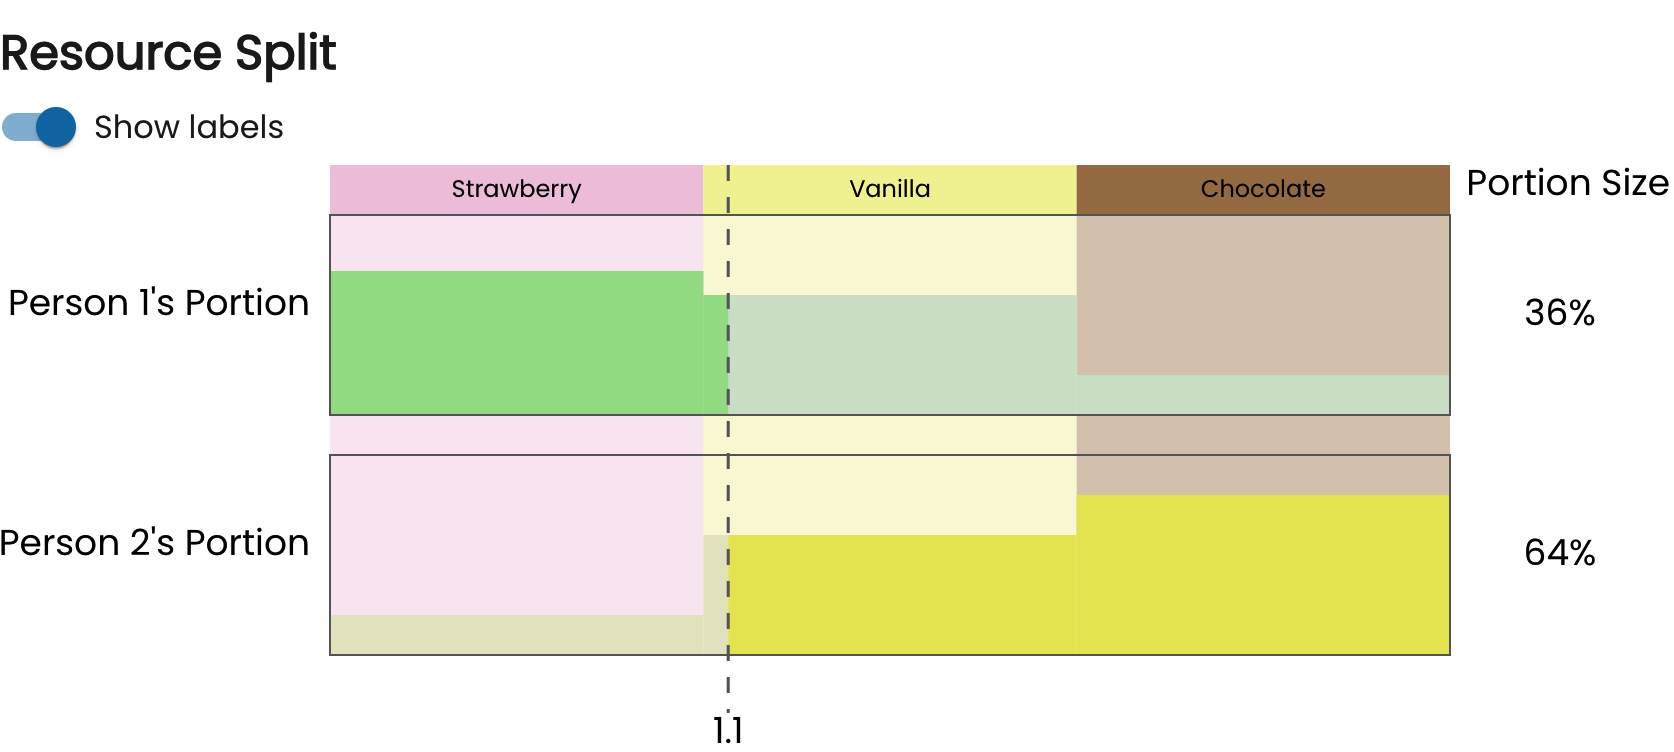
This diagram shows where the resource should be split. The 1.1 here means the split should be just after the first section.
The portion size indicates the area each person gets. This is the physical size of the area, irrespective of value.
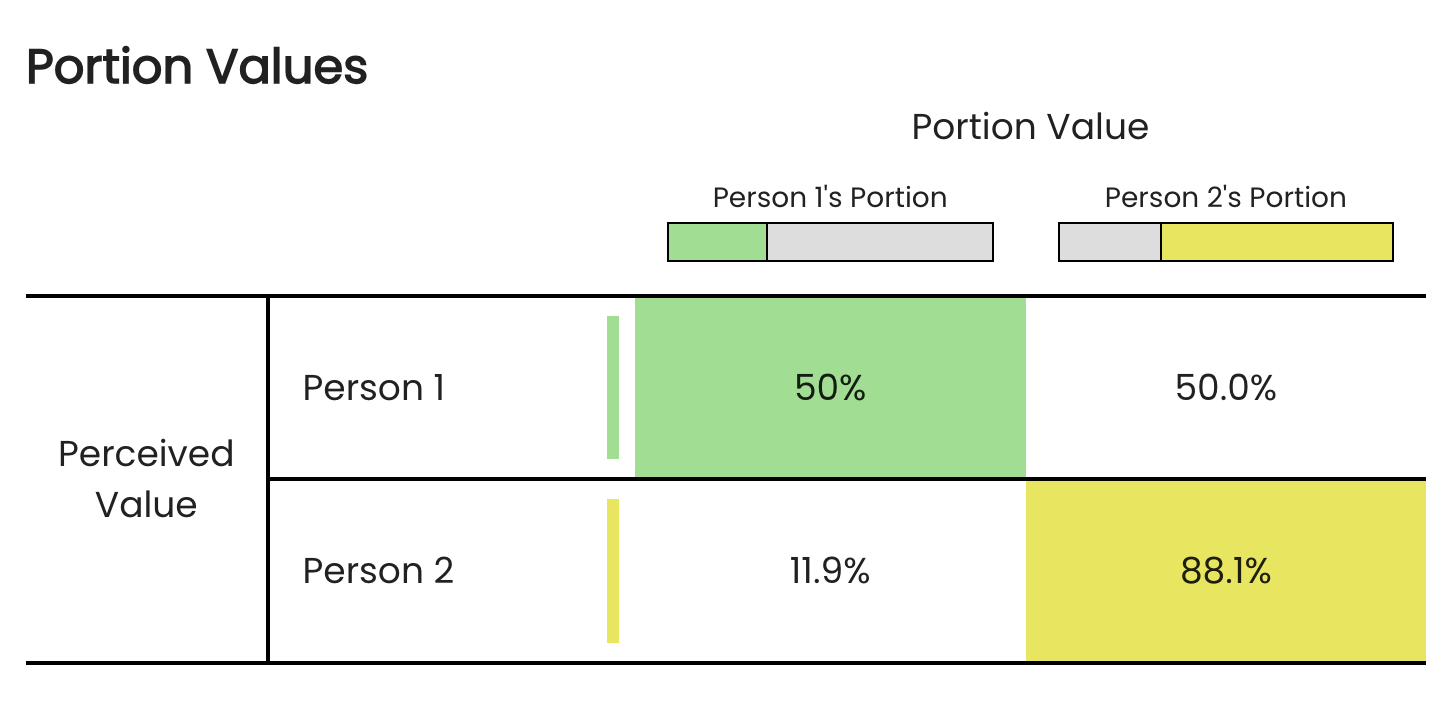
This table shows the value each person gets. Here, Person 1 got a portion worth 50% of the total to them and Person 2 got a portion worth 88.1% of the total to them.
Because these values are from each person's perspective, they are independent. That's why they can be more than 100%.
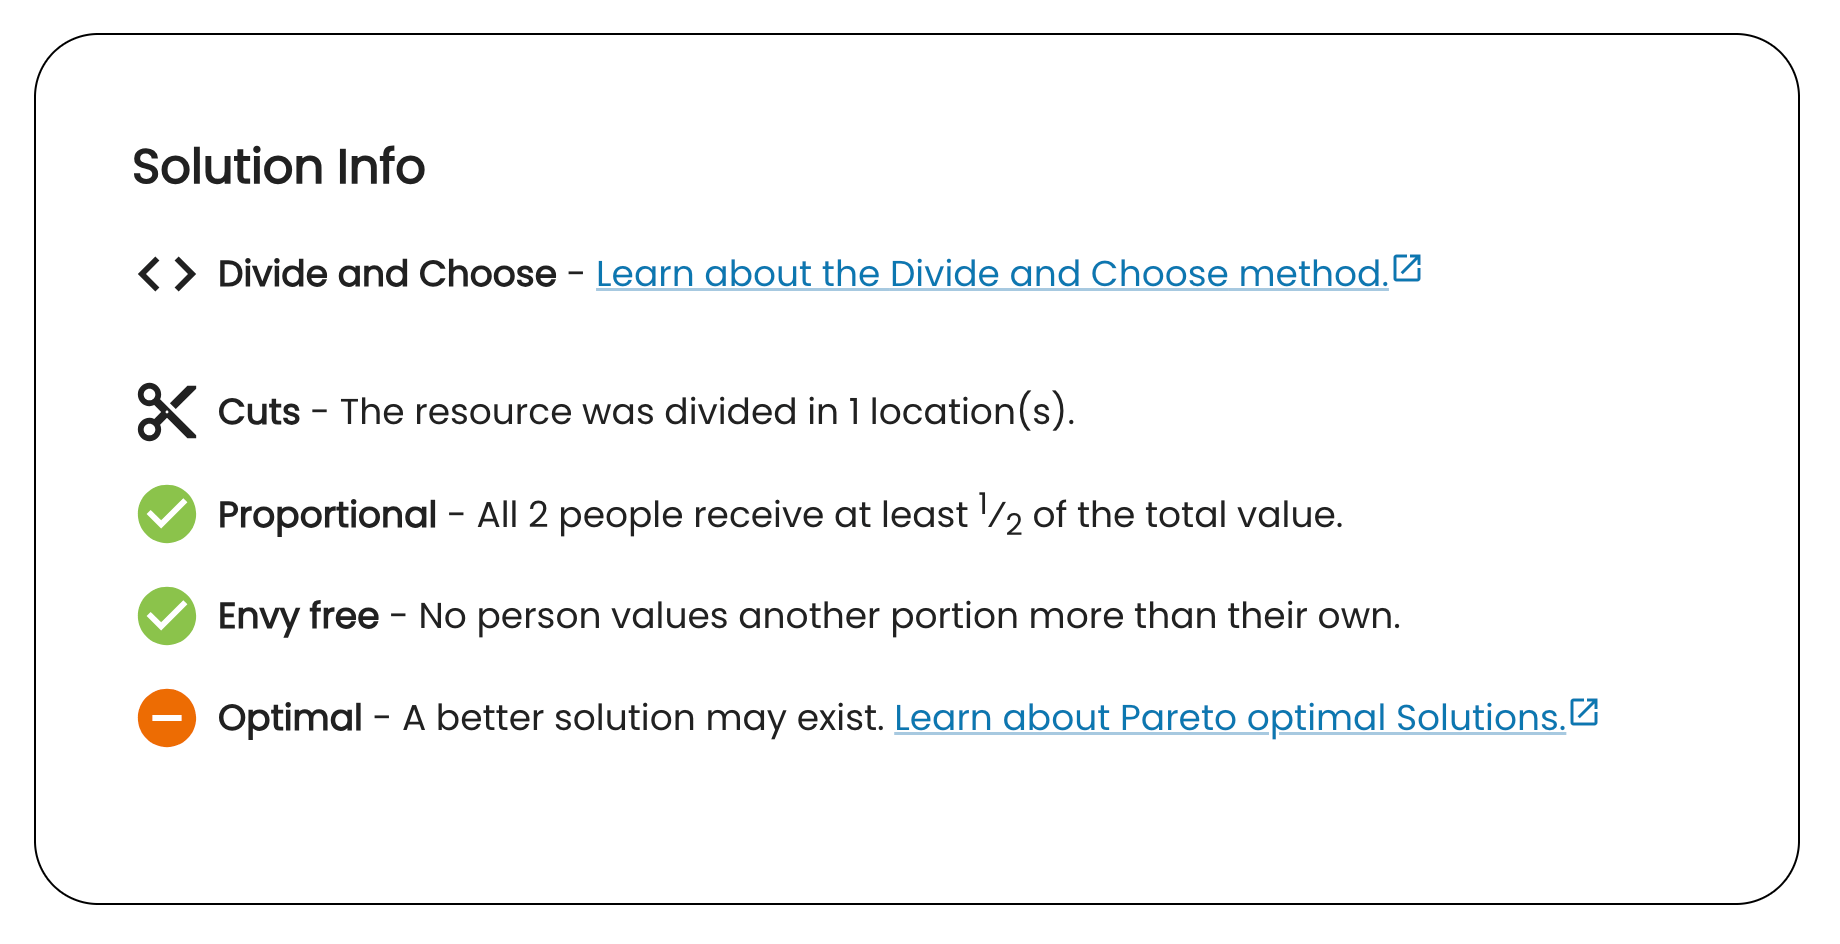
Last, you'll find basic information about how the results were generated.

